Set up a photography area: Find a clean, well-lit area with a neutral background. A white or light grey background works well, but you can also use a colored background if it fits with the product’s branding. A light table and softboxes were used for the photography area.
Gather your equipment: You’ll need a camera, tripod, lighting, and props to showcase the product. I utilized a DSLR camera or a high-quality smartphone camera with manual controls to adjust exposure, shutter speed, and focus. Equipment used included a Canon EOS 5D Mark IV camera with a 24-105mm USM Lens, Profoto softboxes, tripod, and a light table.
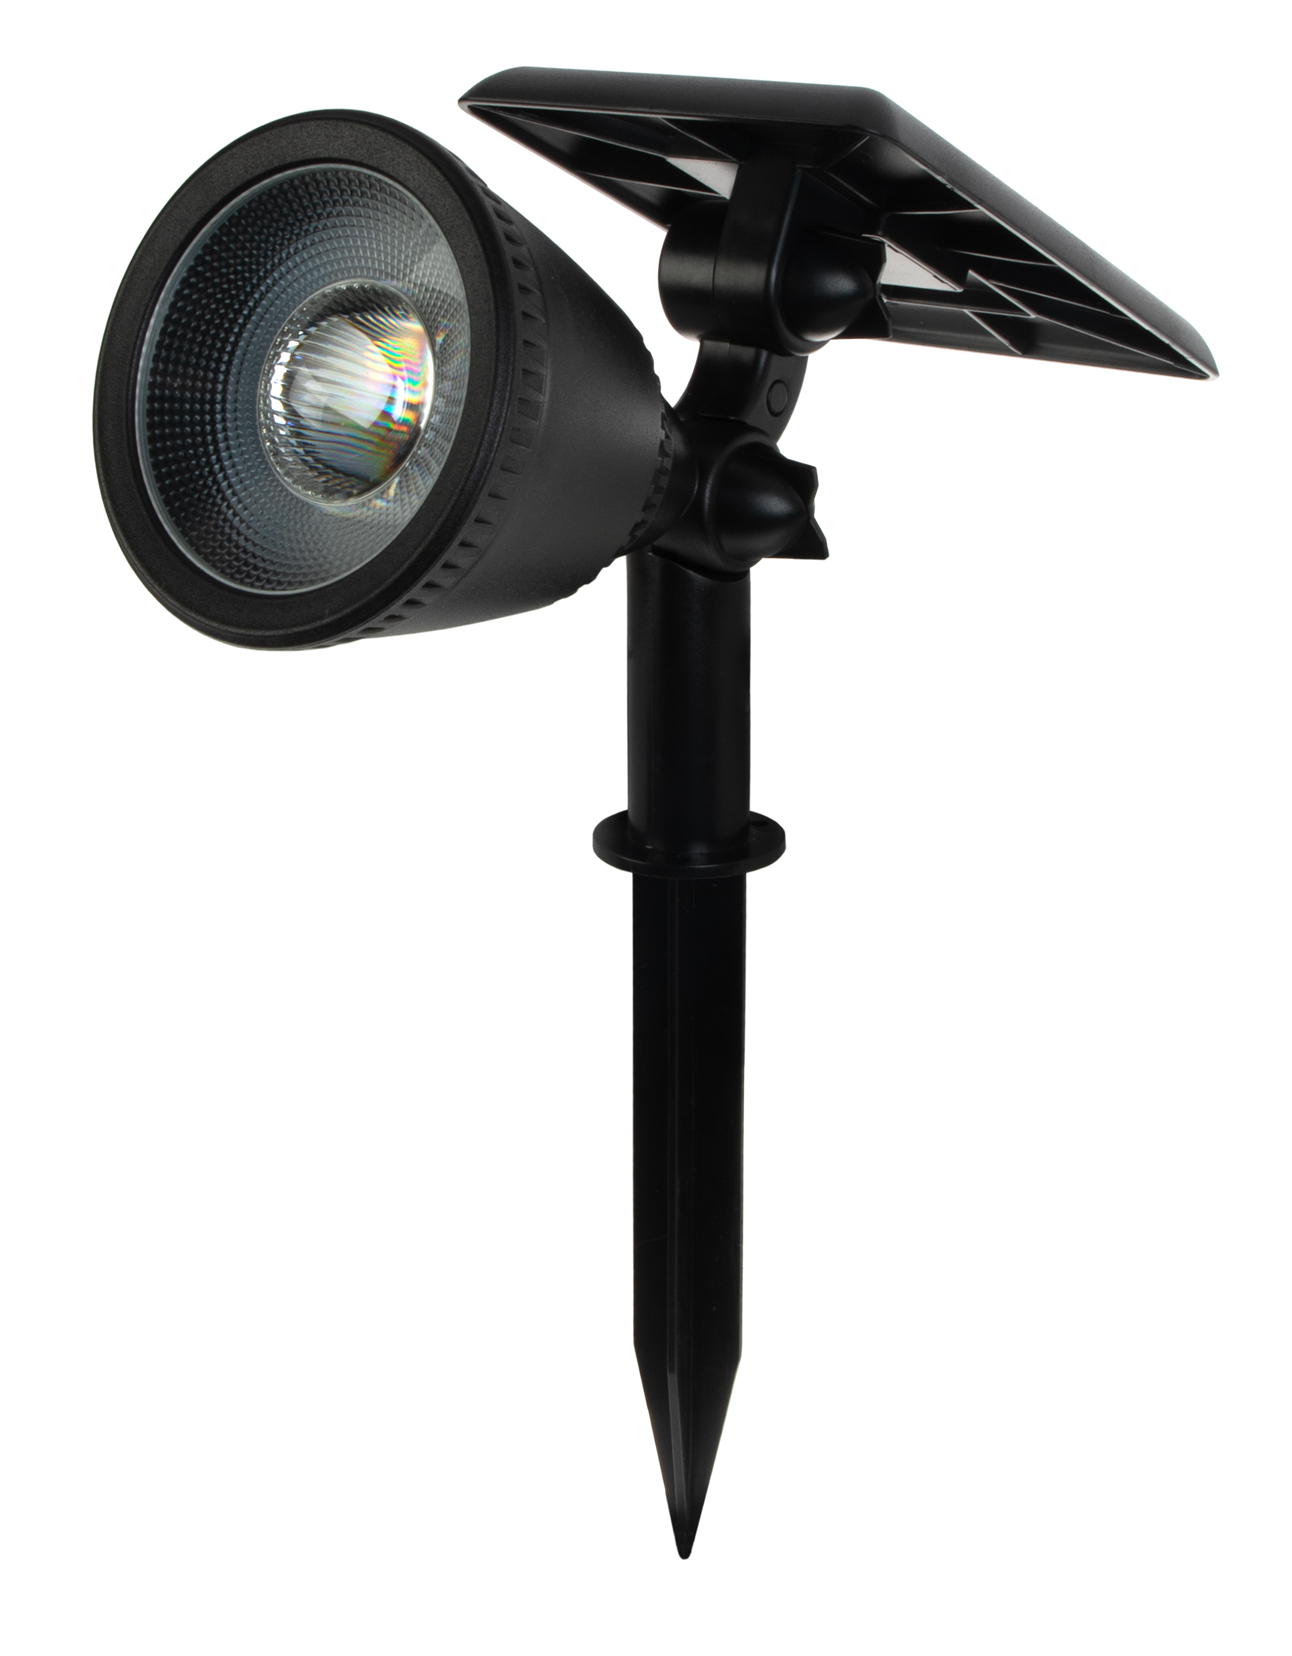
Prepare the product: Clean the product thoroughly and remove any tags, stickers, or packaging that might distract from the product’s appearance.
Set up the lighting: Use soft, diffused lighting to avoid harsh shadows and ensure the product is well-lit. One can use natural light or studio lights, but be sure to avoid direct light that can cause reflections.
Position the camera: Mount on a tripod for a perfectly steady shot and position it to capture the product from different angles. This photo was shot slightly above (10-15 degrees). The goal is to showcase the product’s features.
Adjust camera settings: Adjust the camera settings to ensure the product is in focus and the exposure is correct. Use a narrow aperture for a deeper depth of field and a wider aperture for a shallow depth of field.
Take the photos: Take multiple photos from different angles and with different props and lighting setups. This will give you options to choose from and make sure you have a variety of shots for your eCommerce website.
Edit the photos: Use photo editing software to crop, adjust colors, and remove any imperfections from the photos. This will help ensure the product looks its best on your eCommerce website.
Upload the photos: Upload the edited photos to your eCommerce website and include them in the product description. Uploaded via Magenta eCommerce platform.