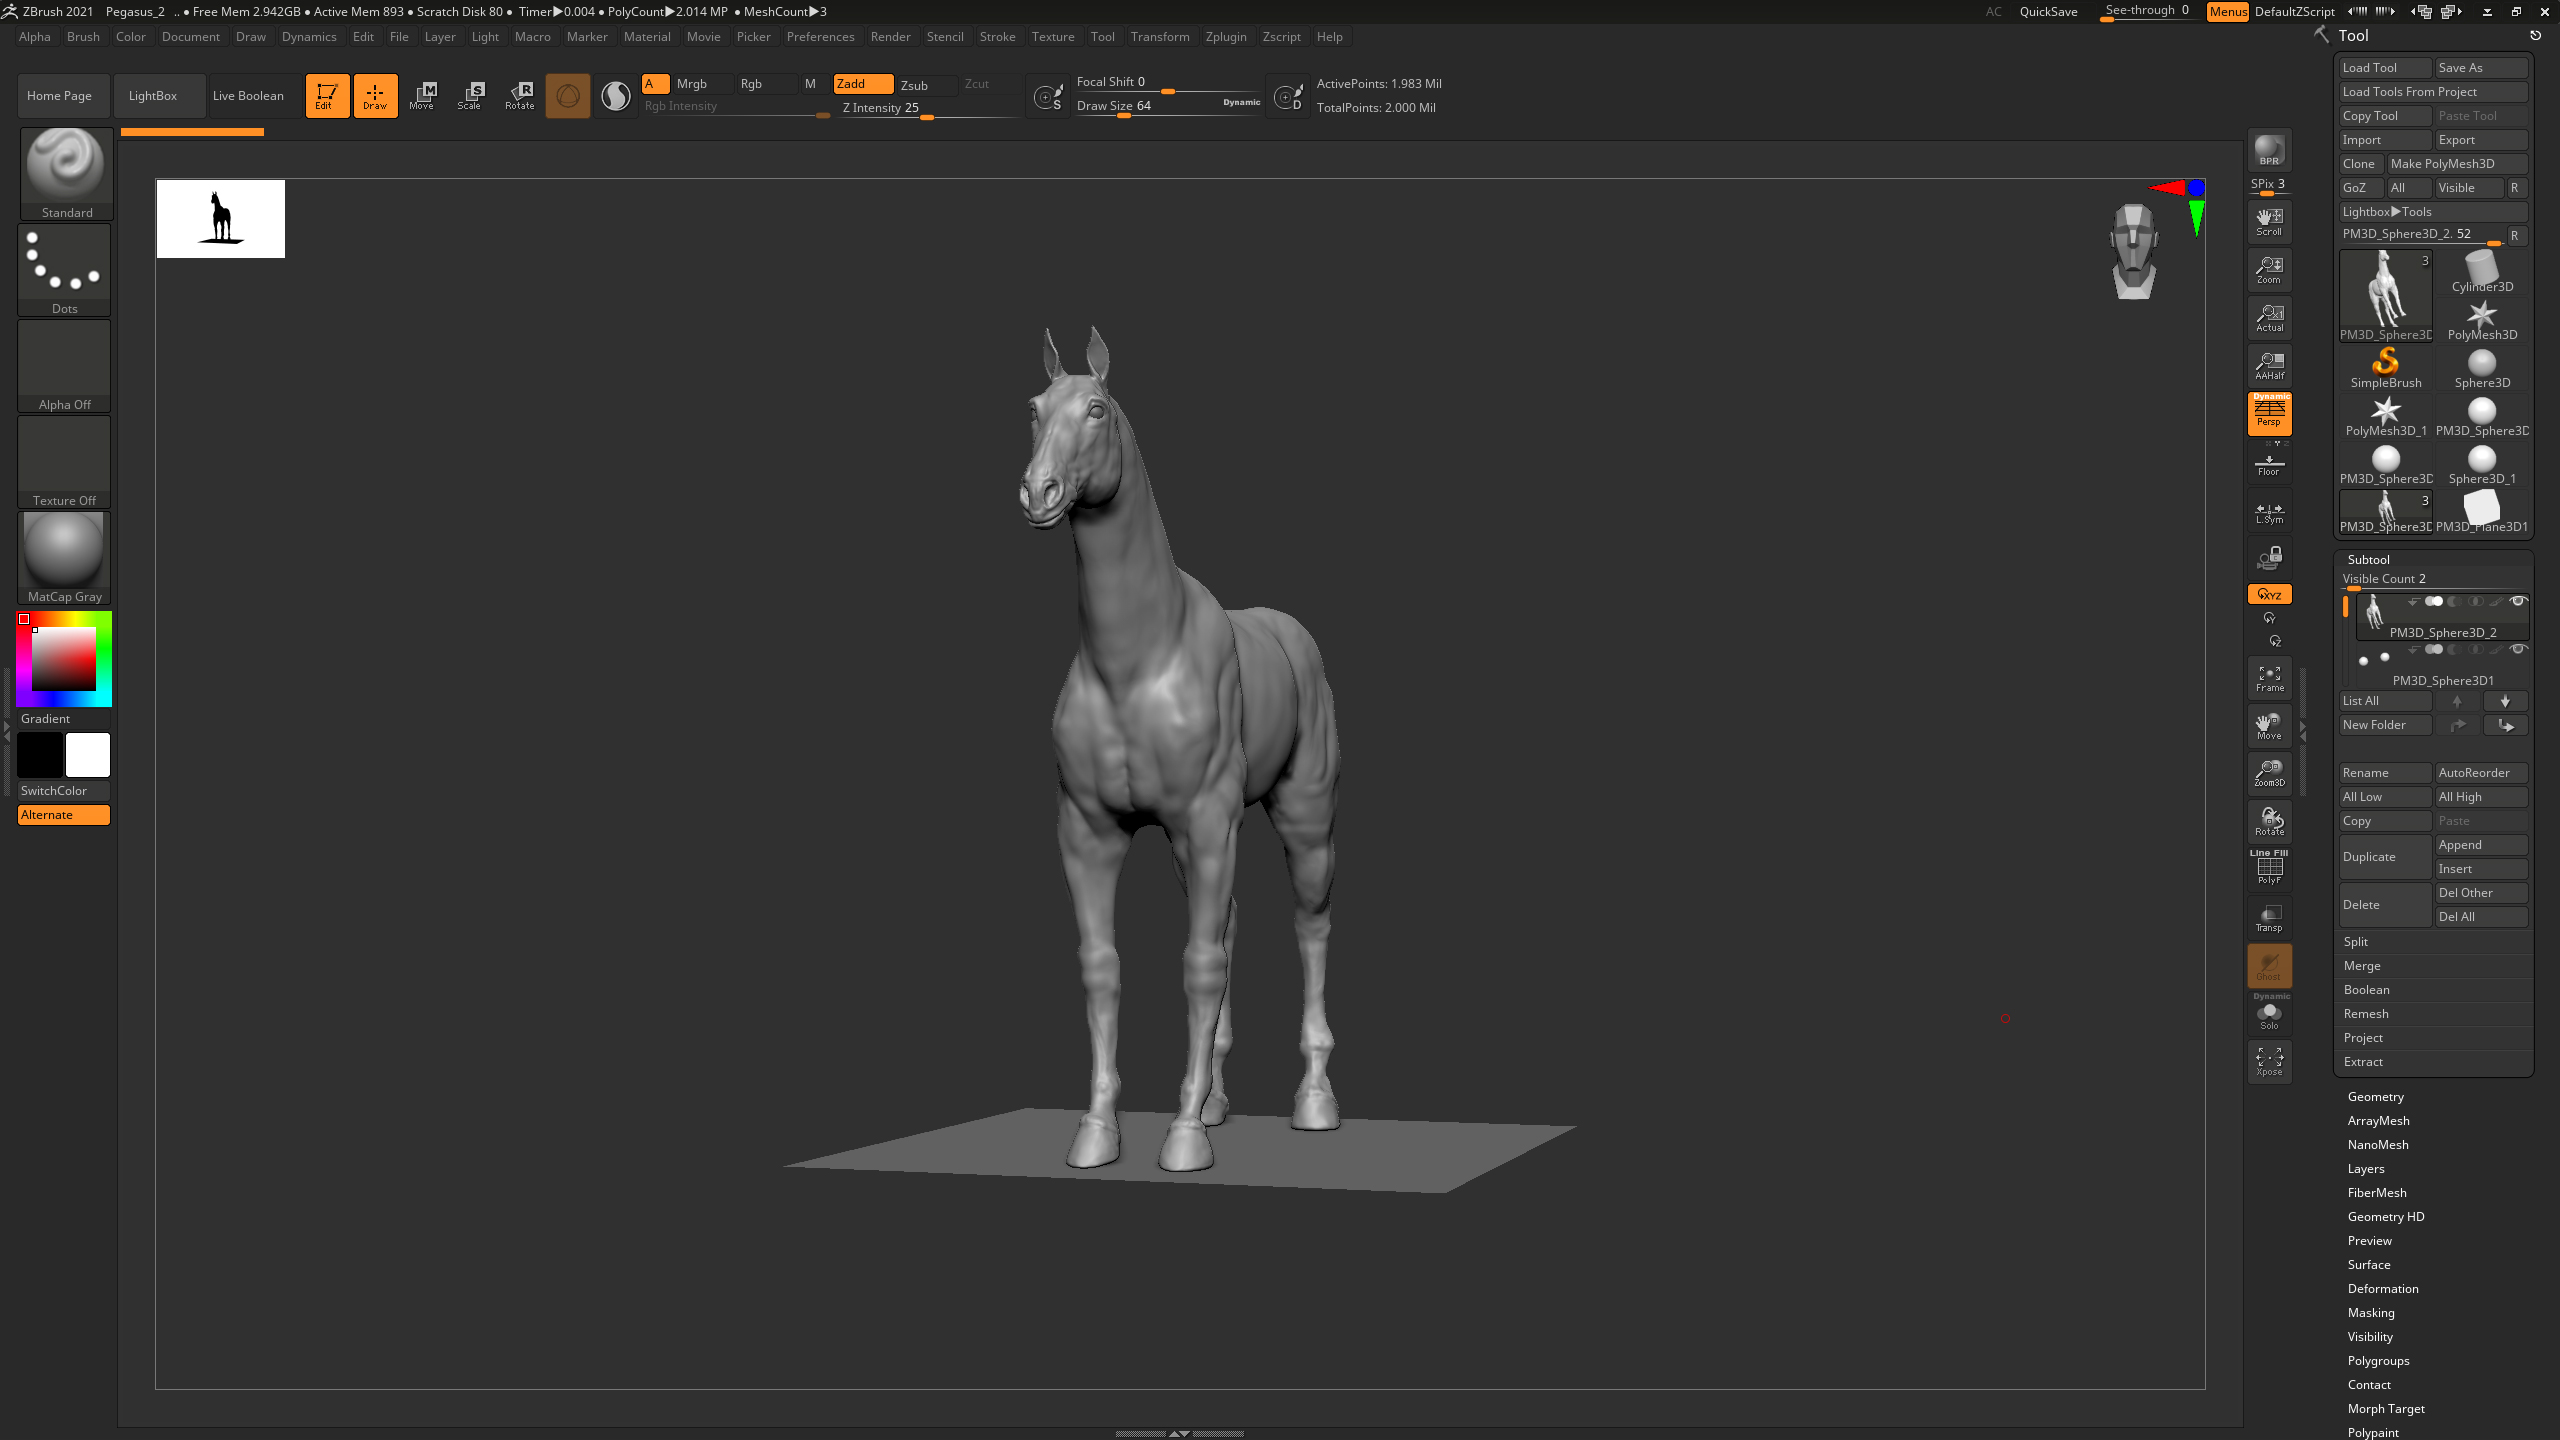
This 3D horse project was a huge leap for me to see what kind of modeling and rendering skills I could use to achieve realistic renders. I was/am always inspired by animals, and desired to model a horse and all it’s skeletal/musculature. The steps below explain my Zbrush/Keyshot path and challenges to achieve the final render result.
Subject matter selection: Horse model, and posed in the action of jumping. The possibilities are endless here, but this was my focus. It could be a character, an object, a creature, or anything else you’re interested in.
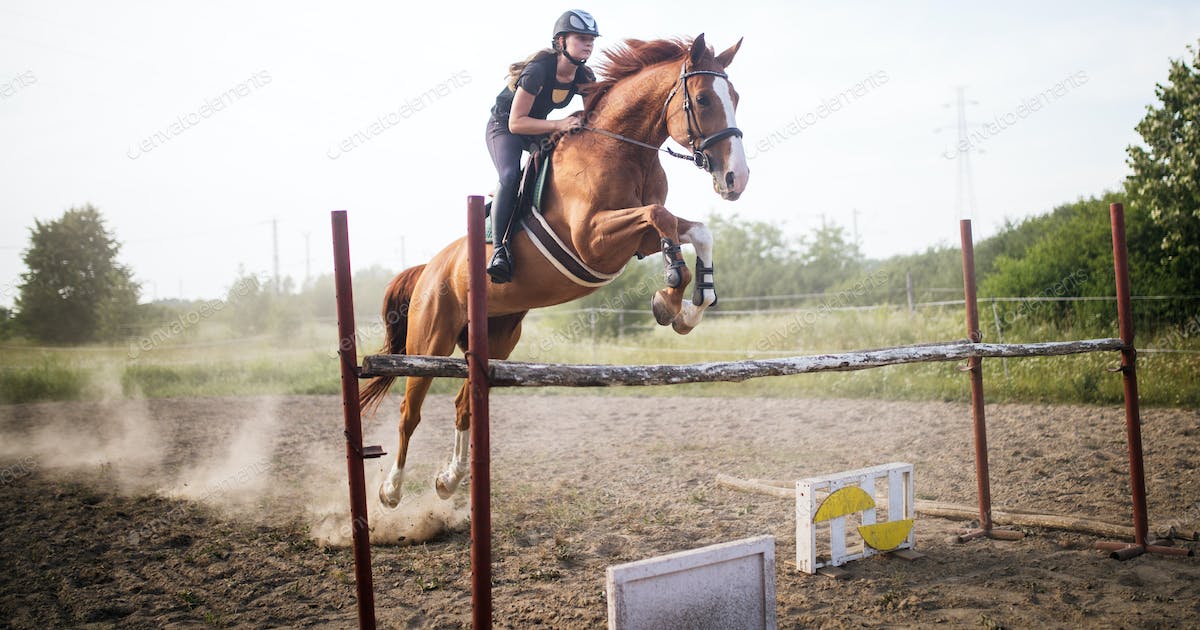
Gather reference material: Collected images and videos that show your subject matter from different angles and in different poses. This will help you get a better sense of the shapes, proportions, and details you’ll need to create in 3D.
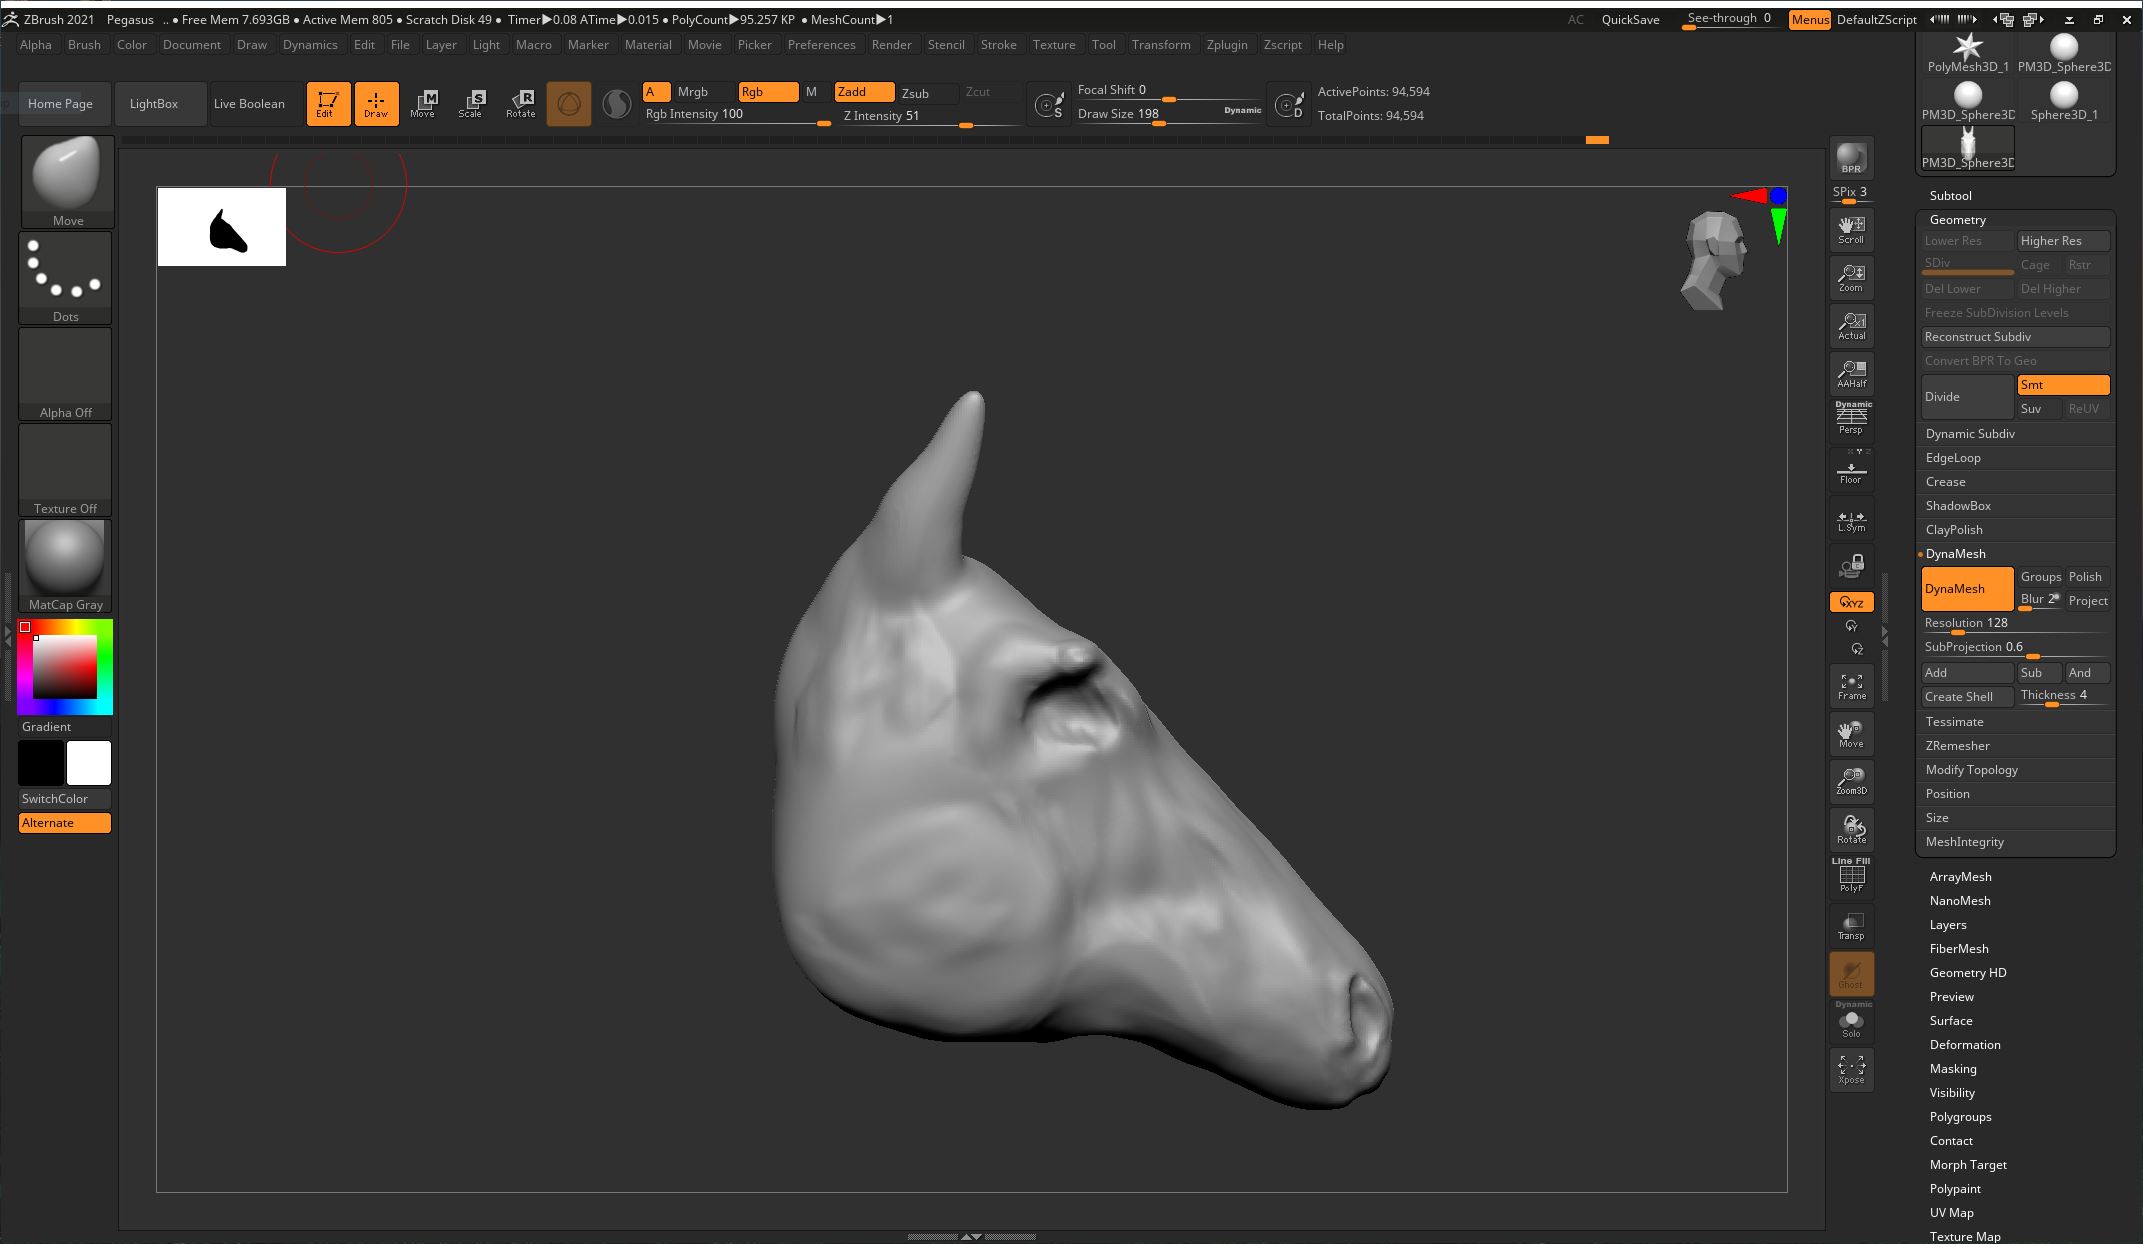
Blocked out the basic shapes: Use ZBrush’s ZSpheres or DynaMesh features to create a rough outline of your subject matter. This is called “blocking out” and it helps you establish the basic proportions and forms of your model.
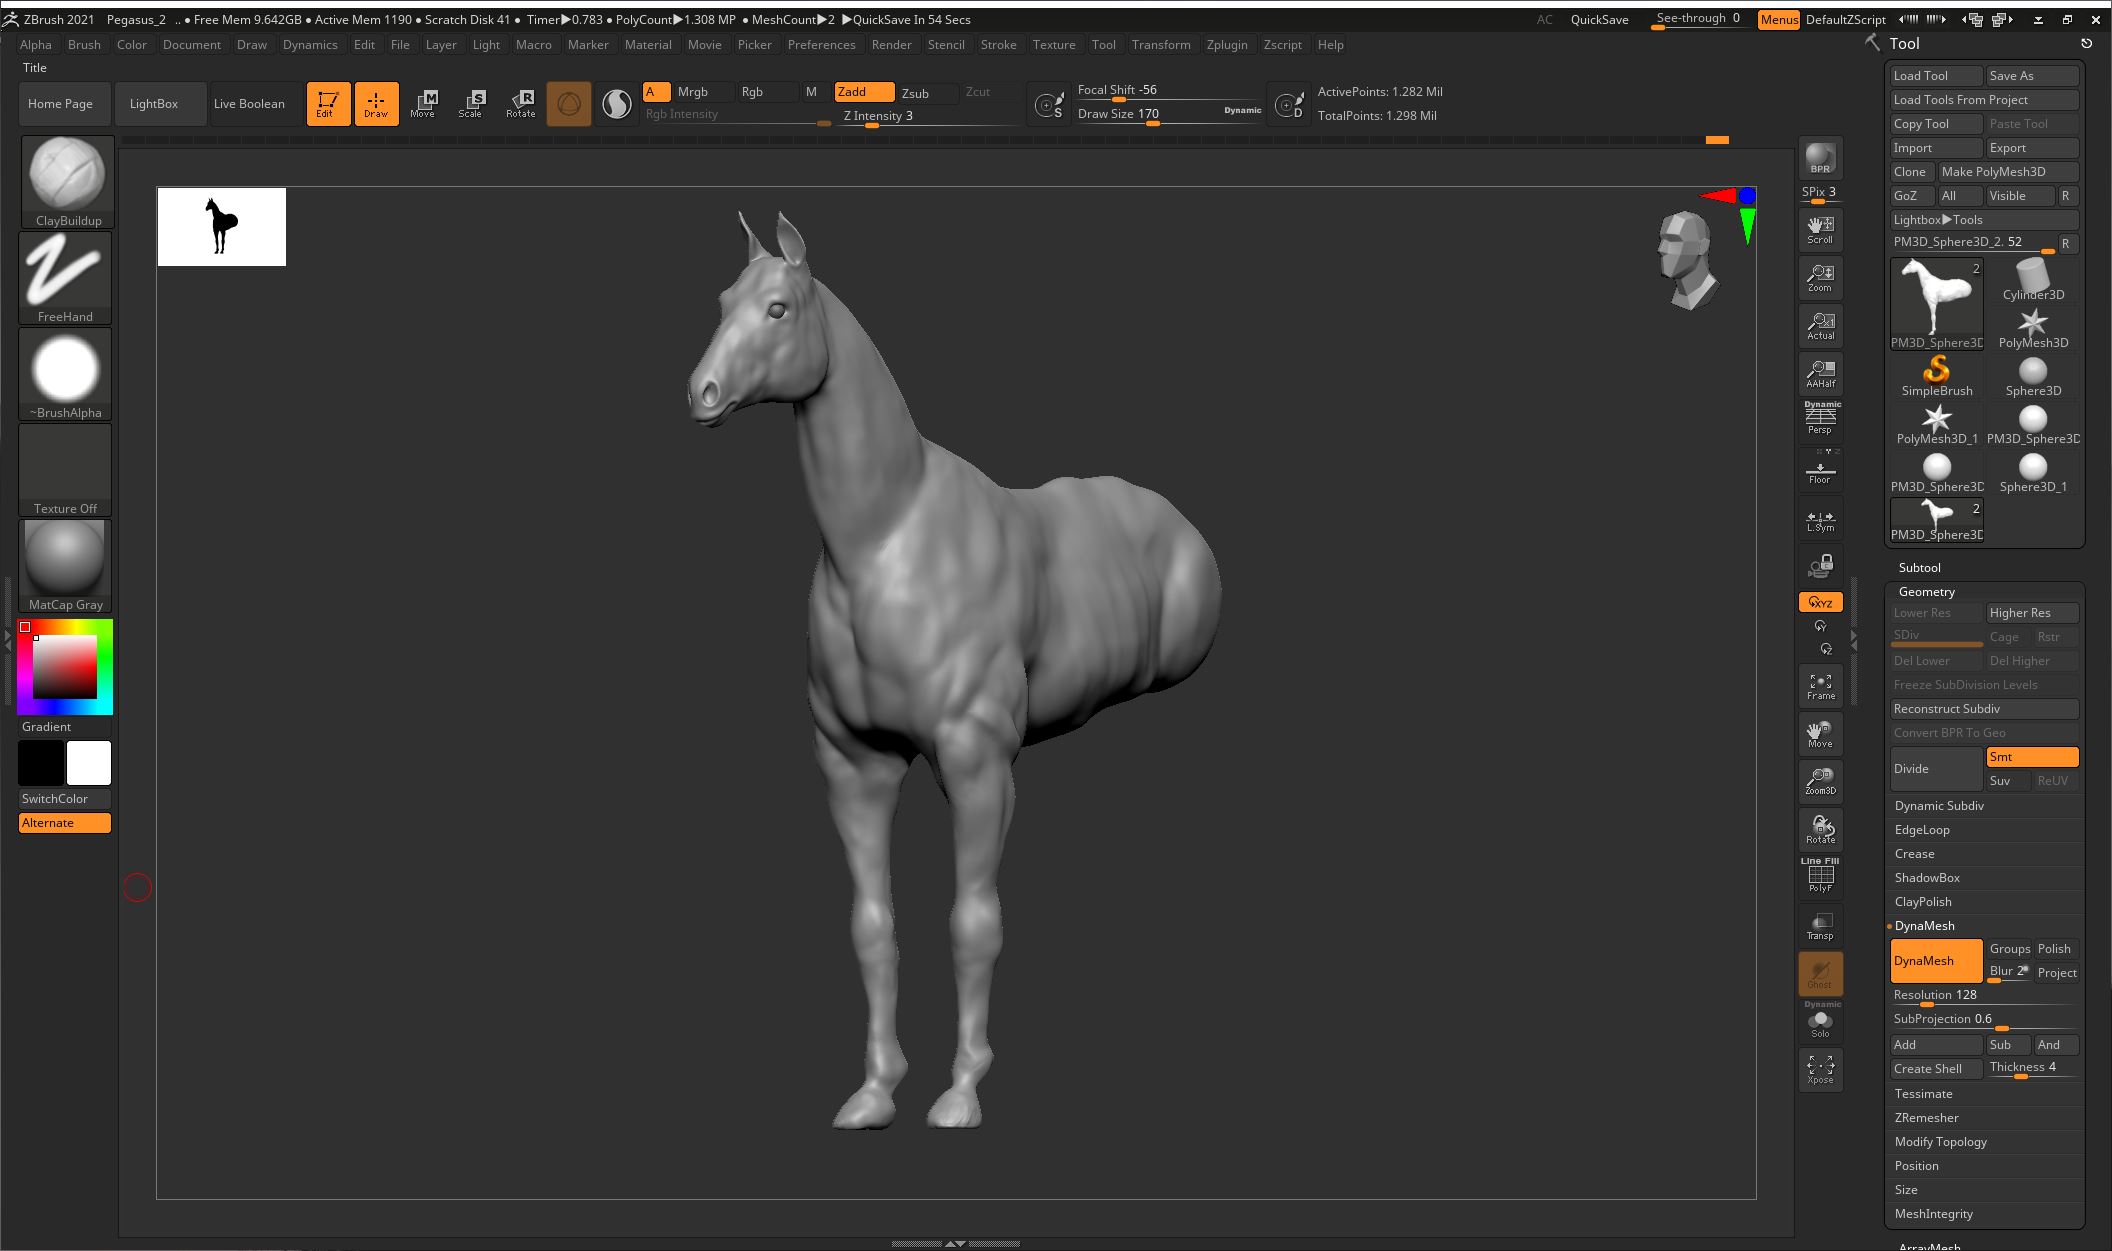
Refined the shapes: I used ZBrush’s sculpting tools to refine the shapes of my model, adding detail and smoothing out rough spots. I was constantly paying attention to the reference material I gathered earlier and try to match the proportions and shapes as closely as possible.
Add details: Once I was happy with the overall shape of your model, I started adding details. This included things like wrinkles, pores, hair, or texture. A horse is covered in hair, however, my main focus was more on the horses form.
Paint or texture the model: I utilized Keyshot’s painting or texturing tools to add color, shading, and texture to your model. My main reference image above was used as my guide.
Render your model: I utilized Keyshot and ZBrush’s built-in rendering engine to export my model. This high-quality render was chosen out of a variety of different angles and lighting setup exports.
Photoshop composite layers: Keyshot renders were taken into Photoshop to create the final composite of roughly 6 layers. They seamlessly all blended together when stacked perfectly on top of each other.
Refine and polish: I took a step back and looked at my model as a whole. I then made any of the necessary tweaks to the shape, texture, or color to ensure it looks as polished and professional as possible. Final polish completed in Photoshop.